First steps with fax
Learn how to send and receive your first fax using SignalWire. You'll configure a phone number, create SWML or cXML scripts to handle faxes, and use SWML or our APIs to send faxes programmatically.
Prerequisites
Before you begin, you'll need:
- A SignalWire account
- At least one phone number capable of receiving faxes
- Your API credentials (Space URL, Project ID, and API token)
Receiving your first fax
To receive faxes, you'll configure a phone number to handle incoming faxes using either a SWML or cXML script that defines what happens when a fax arrives.
Obtain a phone number
First, you need a SignalWire phone number capable of receiving faxes.
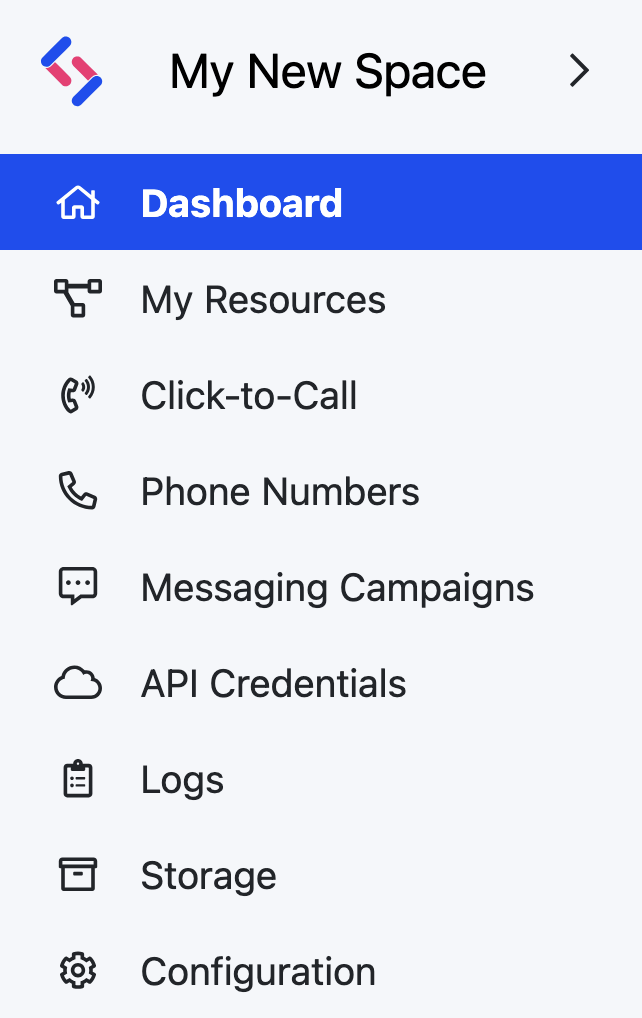
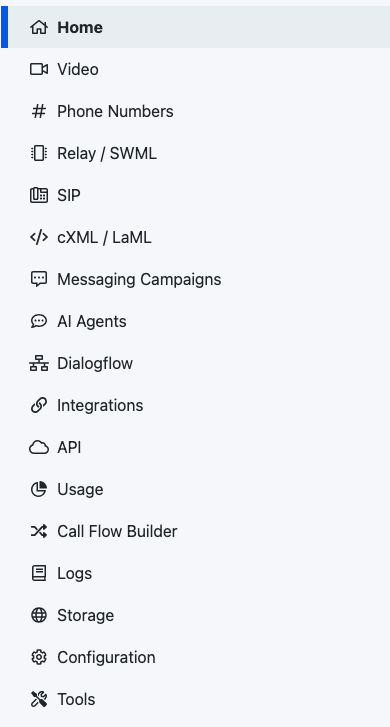
Log in to your SignalWire Space. If you don't have a number yet, navigate to the Phone Numbers section and buy a new phone number.
Create a script
- SWML
- cXML
From your SignalWire Dashboard, create a new Resource by navigating to the resources tab, then select the "New Script" option and choose "New SWML application".
Navigating to and creating a new SWML resource for handling faxes.
Paste the following code into your script:
- YAML
- JSON
version: 1.0.0
sections:
  main:
    - receive_fax: {}
{
  "version": "1.0.0",
  "sections": {
    "main": [
      {
        "receive_fax": {}
      }
    ]
  }
}
Save the script. It should now be located in your Resources tab on the left sidebar, under Scripts.
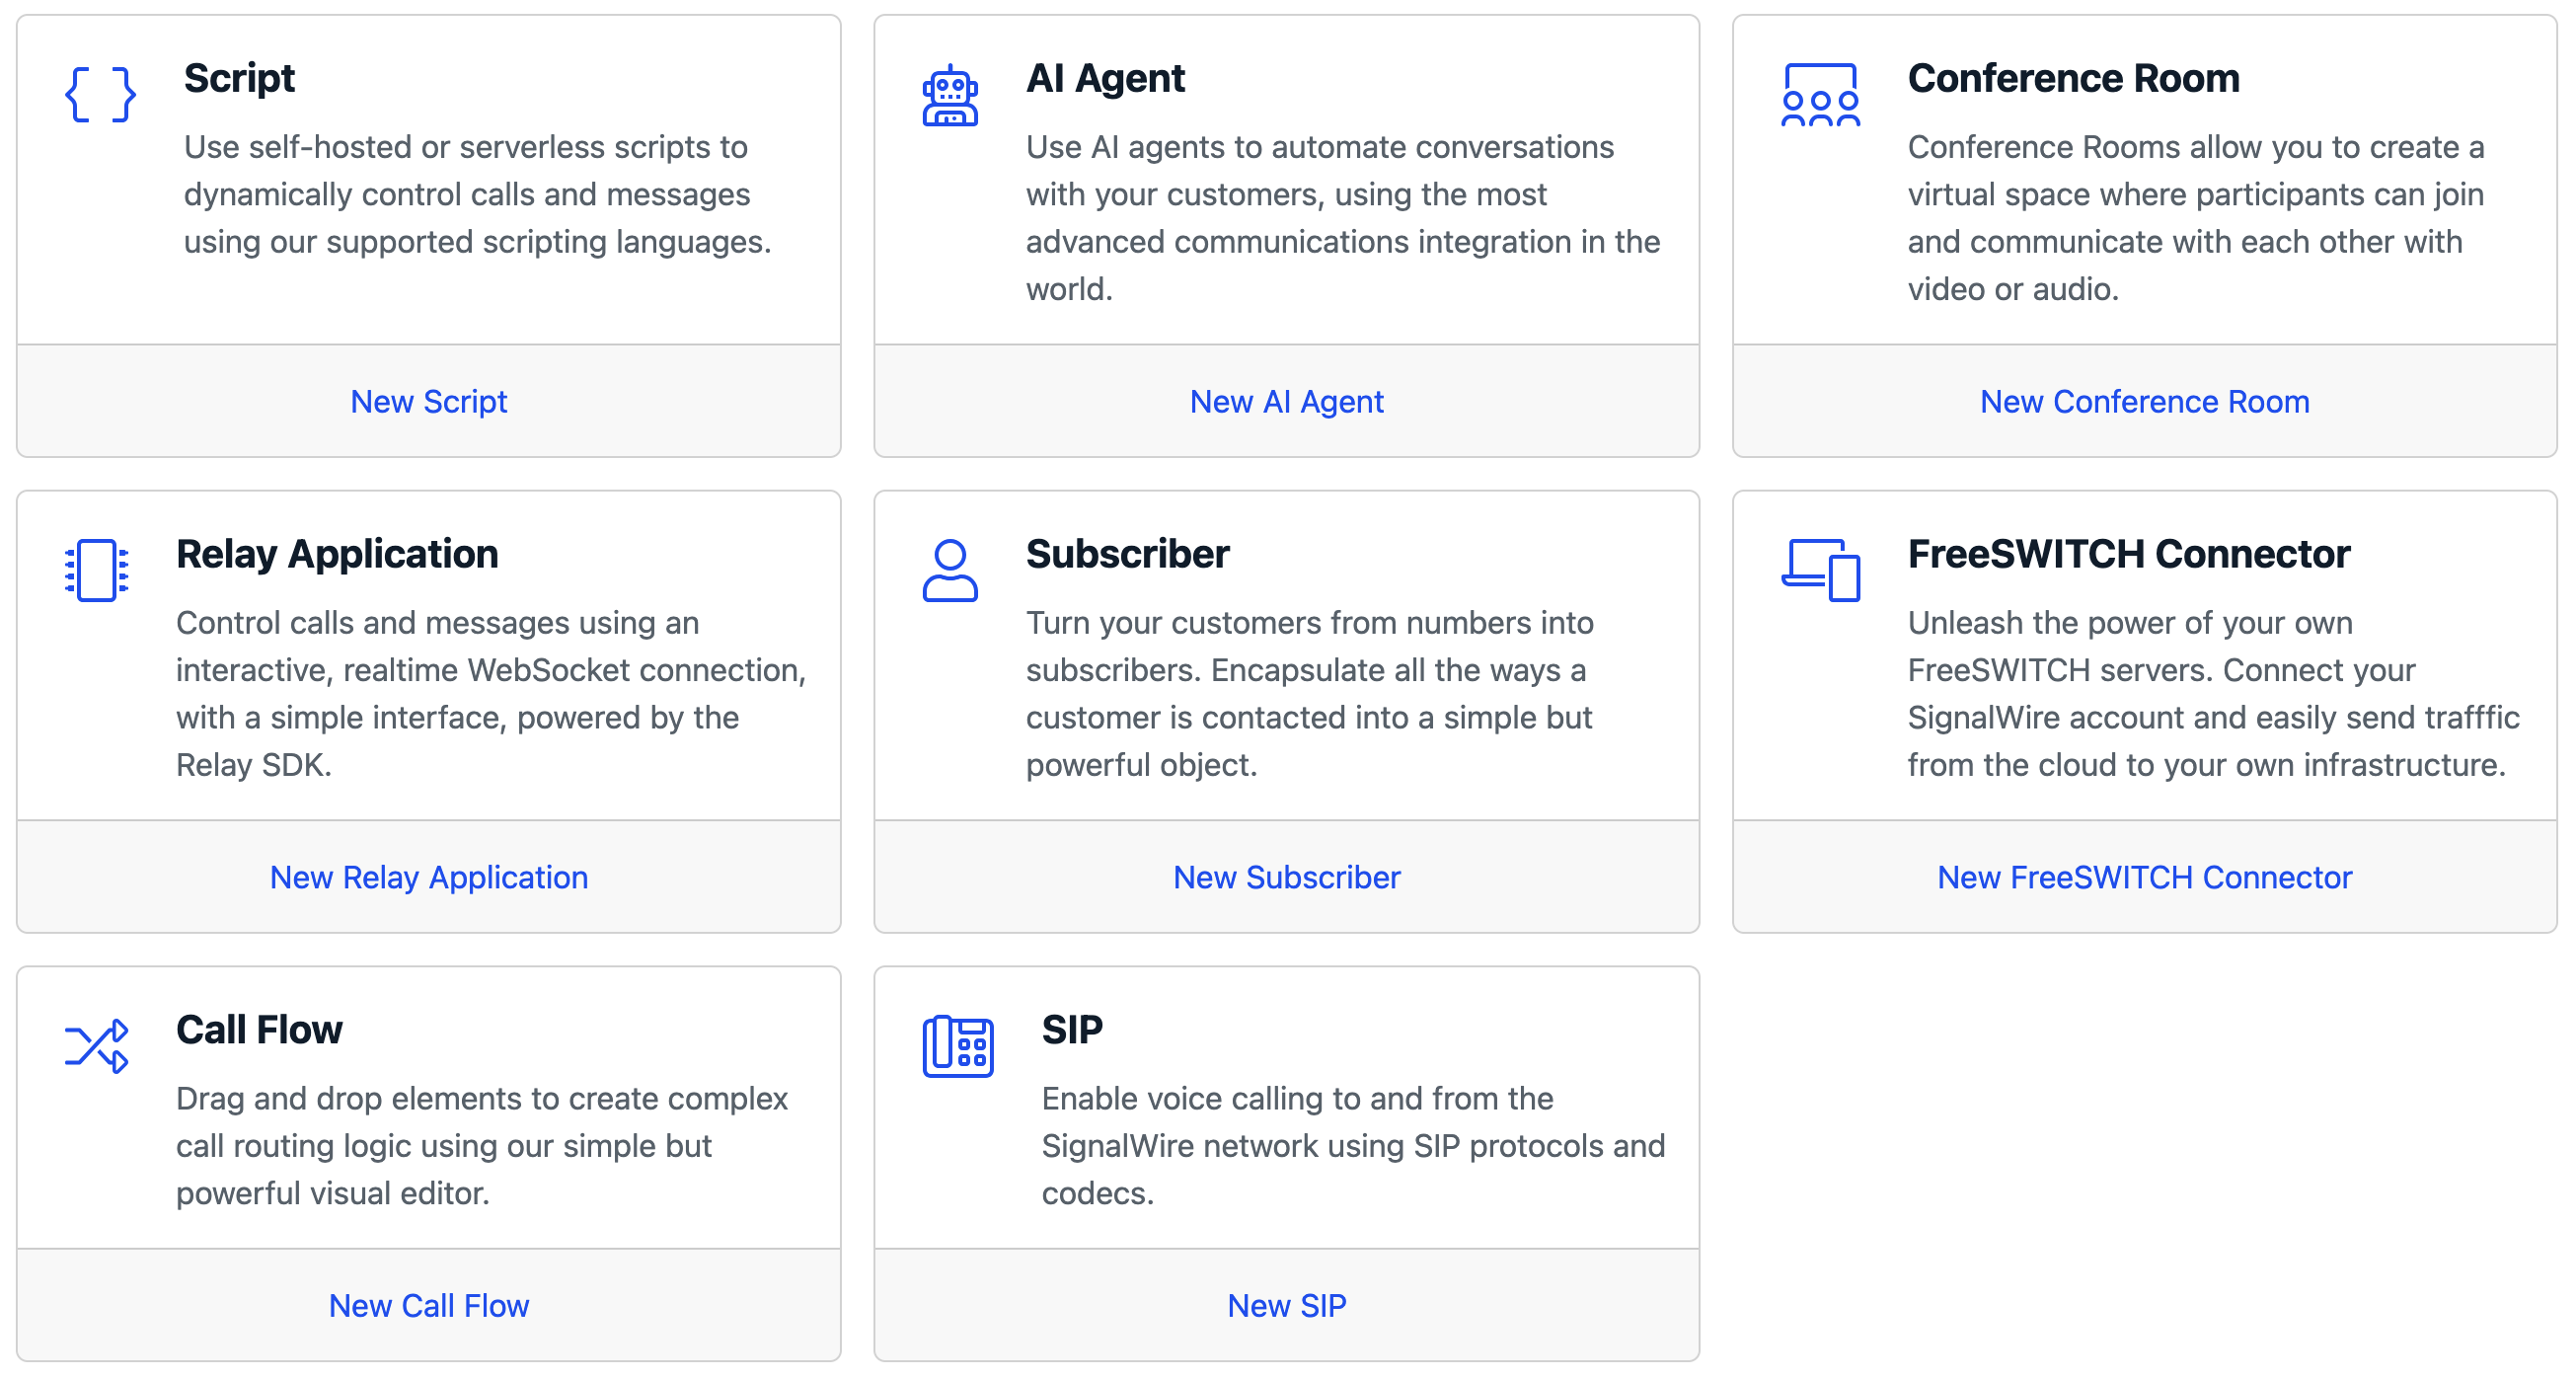
From your SignalWire Dashboard, create a new Resource by selecting the Script option, then choose "cXML script".
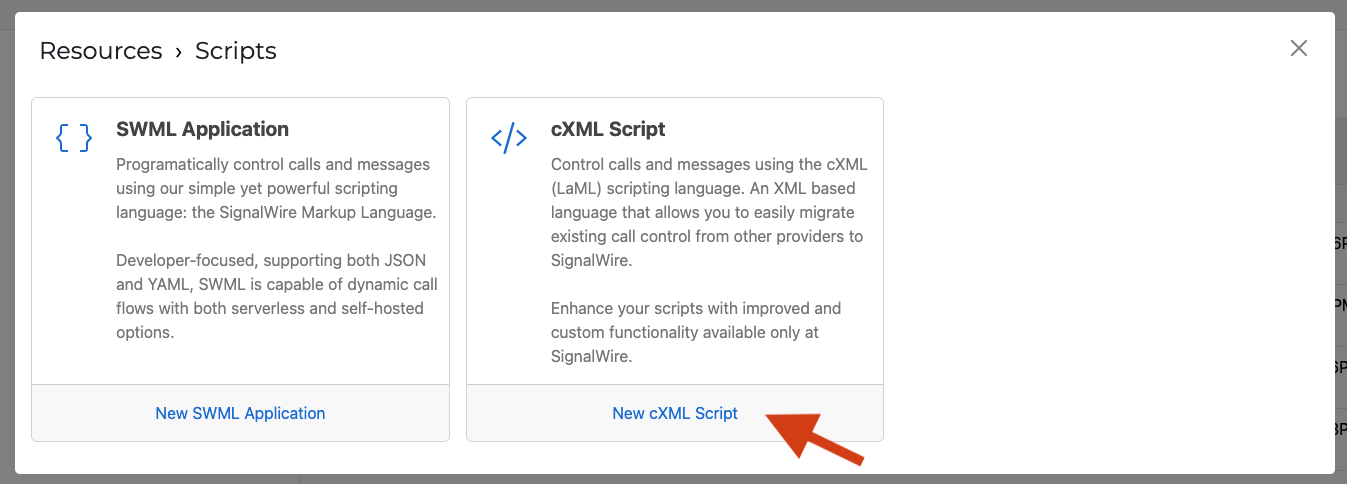
Creating a new cXML script resource for handling faxes.
In the pane that appears, select the "Script Will Be Used For" dropdown, then select Faxing.
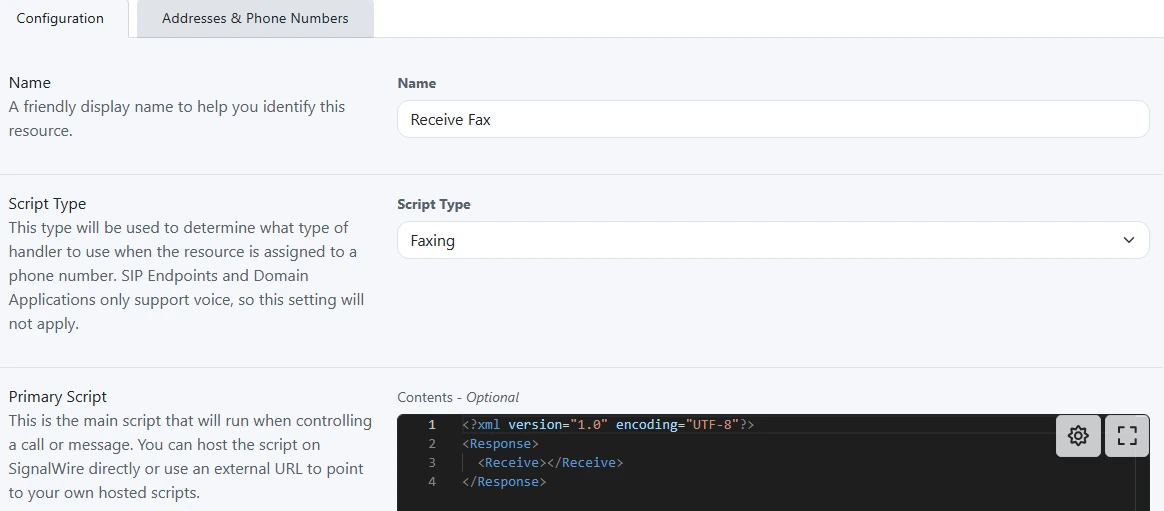
cXML script configuration with Faxing selected.
Paste the following XML into your script:
<?xml version="1.0" encoding="UTF-8"?>
<Response>
<Receive></Receive>
</Response>
Save the script; it should now be located in your Resources tab on the left sidebar under Scripts.
Configure phone number
Navigate to the "Phone Numbers" tab on the left sidebar. From this tab, click on your newly purchased phone number, then on the "edit settings" option. In the settings page that appears, select "Assign Resource" for "Inbound Call Settings".
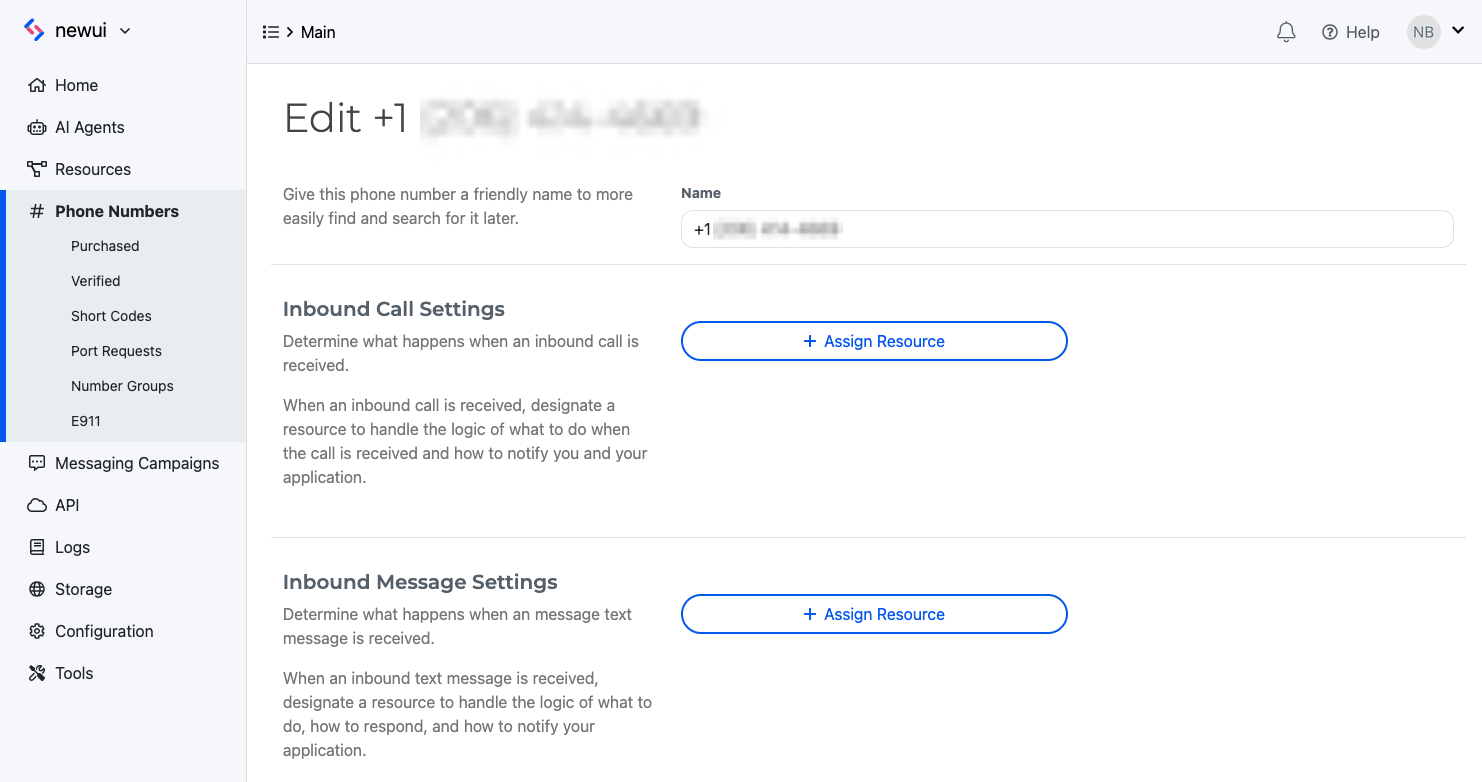
Assign the script to your phone number's inbound call settings.
Select the newly created script, then click "Save" to apply the configuration.
Test your setup
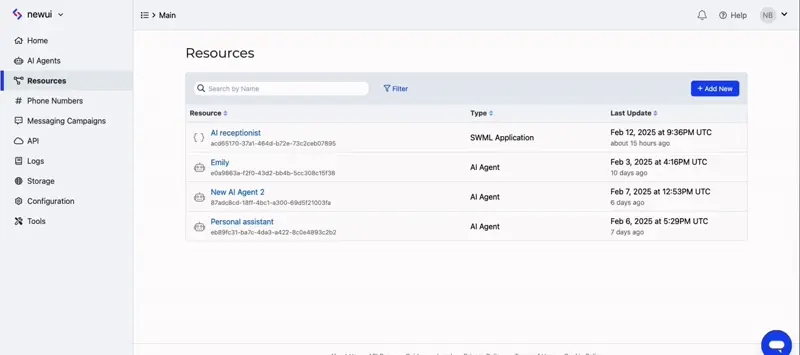
Send a test fax to your configured phone number and then open the respective call log found in the Logs section on your left sidebar.
Copy the link found in the Document parameter and paste it into your browser to view your fax.

View your received faxes in the dashboard logs.
If you prefer to host the fax handling logic yourself, you have two options:
- For SWML: Configure a webhook endpoint that returns SWML. See our SWML receive_fax documentation for more details.
- For cXML: Use our Compatibility SDKs. See our
<Receive>verb documentation for code examples.
You'll need to make your code accessible to SignalWire through a webhook. We have a guide on testing webhooks with ngrok to help you get started.
Sending your first fax
- SWML
- SignalWire REST API
- Compatibility
SWML can be used to send a fax through the send_fax method.
The below example script sends a fax, then posts the result to a predetermined webhook.
- YAML
- JSON
version: 1.0.0
sections:
  main:
    - send_fax:
        document: https://example.com/fax_to_send.pdf
    - execute:
        dest: 'https://example.com/handle_outgoing_fax_result'
{
  "version": "1.0.0",
  "sections": {
    "main": [
      {
        "send_fax": {
          "document": "https://example.com/fax_to_send.pdf"
        }
      },
      {
        "execute": {
          "dest": "https://example.com/handle_outgoing_fax_result"
        }
      }
    ]
  }
}
You can also utilize SWML to send faxes via a POST request to the SignalWire REST API Create a Call endpoint.
This can be done either by referencing a SWML script via webhook URL or by including the SWML inline in the request body.
- Webhook URL
- Inline SWML
  curl -L -g 'https://{Your_Space_Name}.signalwire.com/api/calling/calls' \
  -u '{YourProjectID}:{YourAPIToken}' \
  -H 'Content-Type: application/json' \
  -H 'Accept: application/json' \
  --data-raw '{
    "command": "dial",
    "params": {
      "from": "sip:from-sip@example-112233445566.sip.signalwire.com",
      "to": "sip:from-sip@example-112233445567.sip.signalwire.com",
      "url": "https://example.com/swml-for-faxing"
    }
  }'
  curl -L -g 'https://{Your_Space_Name}.signalwire.com/api/calling/calls' \
  -u '{YourProjectID}:{YourAPIToken}' \
  -H 'Content-Type: application/json' \
  -H 'Accept: application/json' \
  --data-raw '{
    "command": "dial",
    "params": {
      "from": "sip:from-sip@example-112233445566.sip.signalwire.com",
      "to": "sip:from-sip@example-112233445567.sip.signalwire.com",
      "swml": "{\"version\":\"1.0.0\",\"sections\":{\"main\":[{\"send_fax\":{\"document\":\"https://example.com/fax_to_send.pdf\"}},{\"execute\":{\"dest\":\"https://example.com/handle_outgoing_fax_result\"}}]}}"
    }
  }'
Send a fax by making a POST request to the Compatibility API Send Fax endpoint:
  curl -L -g 'https://{YOUR_SPACE_URL}.signalwire.com/api/laml/2010-04-01/Accounts/{YourProjectID}/Faxes' \
  -u '{YourProjectID}:{YourAPIToken}' \
  -H 'Content-Type: application/x-www-form-urlencoded' \
  -H 'Accept: application/json' \
  -d 'MediaUrl=https://example.com/fax_to_send.pdf' \
  -d 'To=+1xxxxxxxxxx' \
  -d 'From=+1xxxxxxxxxx'
You can also send faxes using our Compatibility SDK's Send a Fax function